
Dipping your toes in the aquarium hobby? Starting that dream tank? Suffering from Multiple Tank Syndrome and just need that new tank? We understand!
Take a look at this article on how to get that new aquarium set up, then sit back and enjoy the relaxing view.
Take stock of your equipment
Make sure you’re prepared – You probably have an idea in mind, even if it’s vague, of what inhabitants will be in your new tank. Sometimes they’re colorful tropical fish and corals, sometimes they’re gorgeous coldwater anemones and gobies!
Either way, take a look at this checklist and make sure you’ve got what you need.
 Tank
Tank- Stand
- Temperature control (Heater and/or chiller, maybe even a controller!)
- Sand
- Rock
- Circulation pumps, if any
- Filtration
- Cycling tools (test kits, ammonium chloride or fish food to add ammonia)
- Lighting
Figure out the tank’s placement
Your tank’s placement has a lot to do with how often you view it, how likely someone is to bump into it, how easy maintenance is, and other important factors. Keep in mind that wherever your tank is, you’ll need to go there to enjoy it, clean it, and show it off to whoever visits.
If you’re planning on keeping skittish fish, it may be better to keep the tank in an area with low traffic, so they’re less likely to be startled.
And if you’re worried about your floor’s strength, keep in mind that the joists beneath wooden floors should be able to hold the tank’s weight when it’s full. This might mean placing the tank so that as many floor joists run underneath it as possible, or placing it where concrete can support the tank instead. To avoid water damage from small splashes, consider a rubber-backed rug underneath your stand.
You’ll also want to avoid direct sunlight, as this can encourage algae growth and bring tank temperature up drastically! Most of your inhabitants will benefit from a day/night cycle, so a period of darkness will be good as well.
Leak test
You don’t want to fill your tank up with saltwater just to find a leak, right? A good practice is to fill a new tank with tap water outside (or if it fits safely, on a flat surface in a tub). Let it sit for up to 24 hours while the area around is left dry, and check to see if any leaks have occurred.
Once you know you’re leak-free, you can empty the tank, rinse it with RO/DI water, and dry it off before bringing it to its official location.
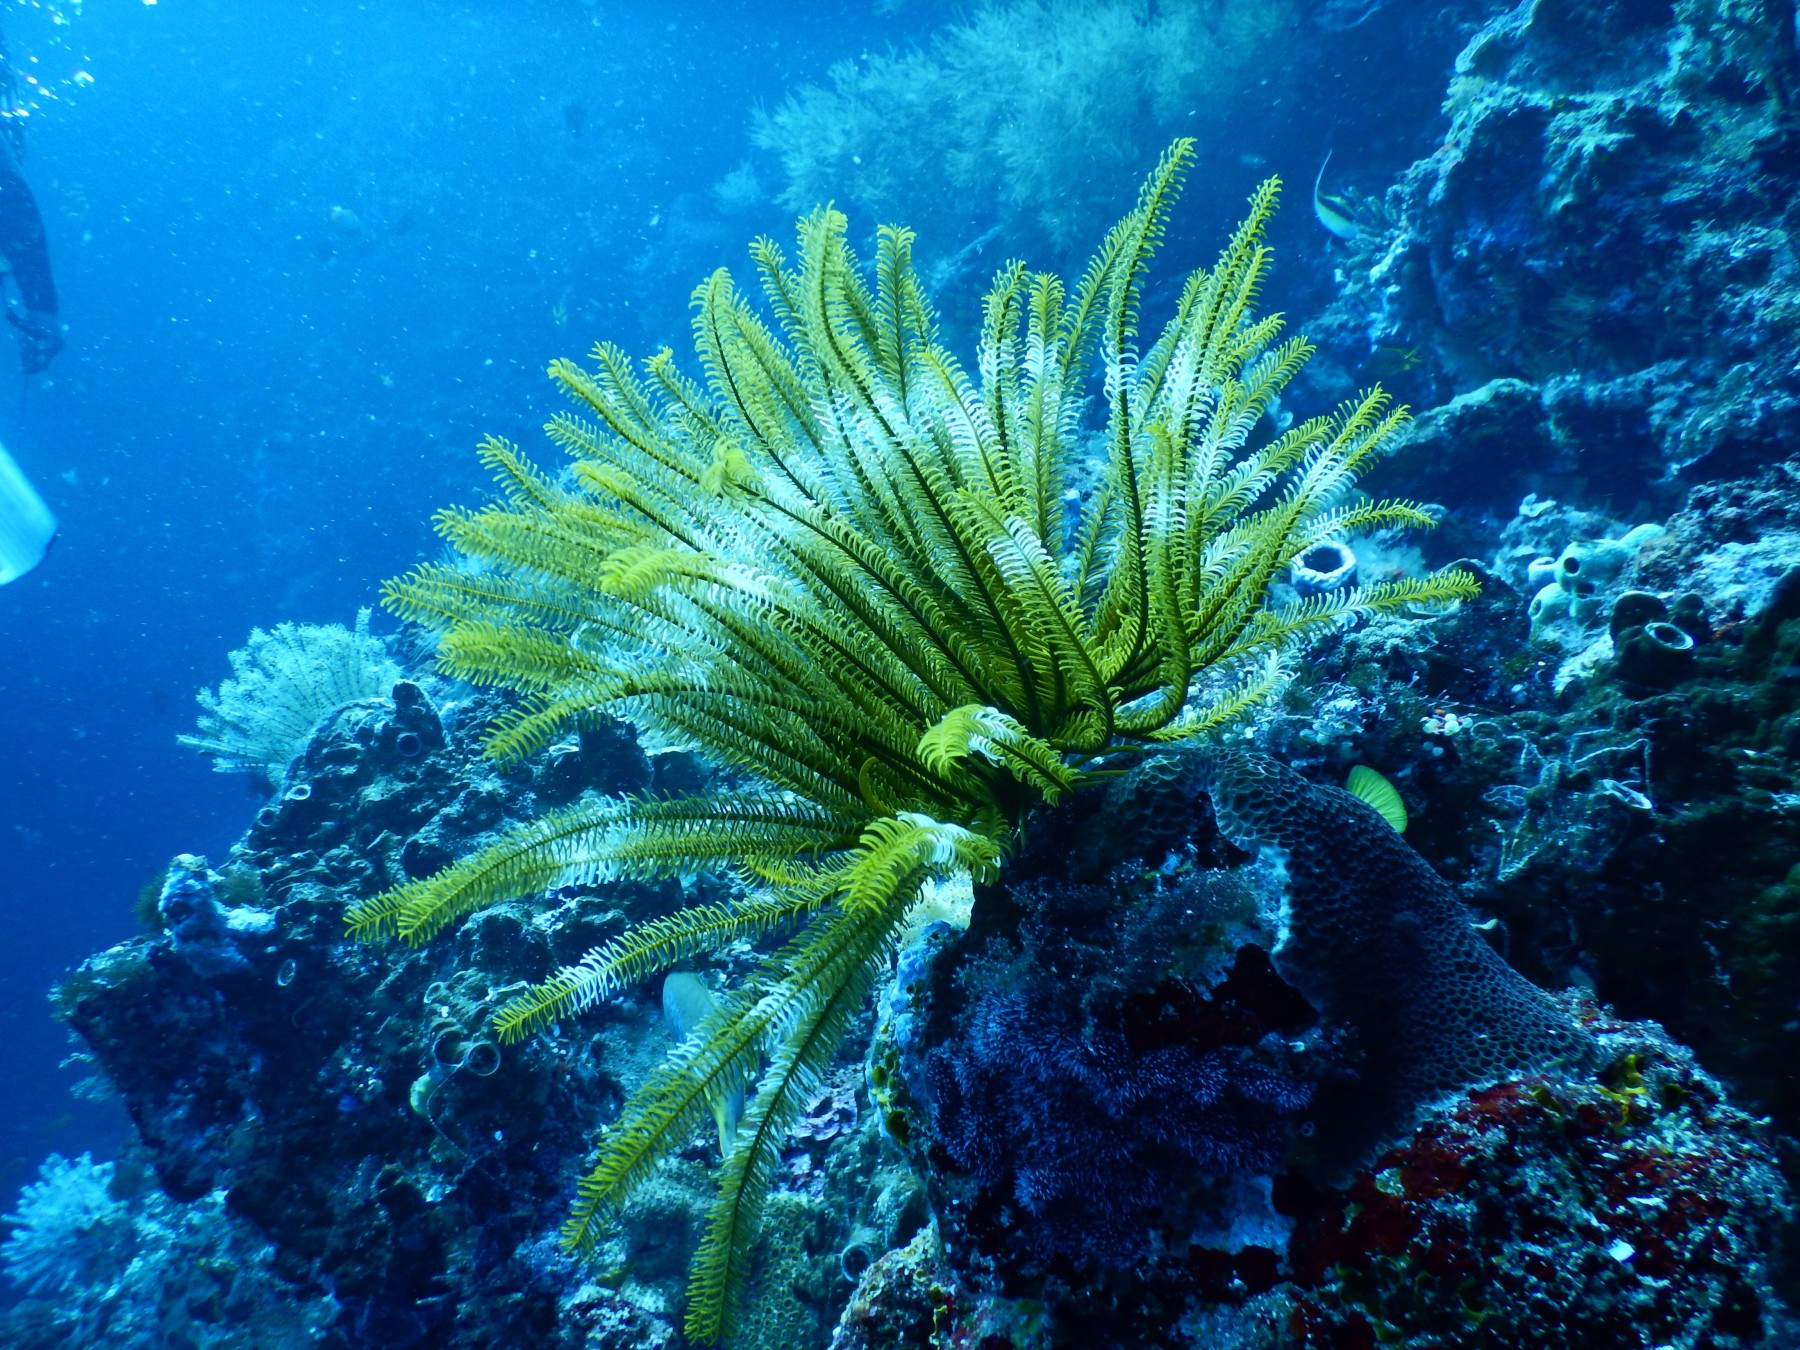
Aquascape?
If you’d like to artfully design the layout of your tank, including sand and rock structures, now’s the time!
Get creative with caves, towers, negative space, the ‘Golden Ratio’, and your eventual placement of stationary inhabitants like corals, anemones, and others.
Time to put the tank together
At this point, it’s safe to hook your equipment up to your tank and start filling it. Since you haven’t added anything living to your tank yet, it’s safe to mix saltwater in the tank itself. Follow the instructions provided by the salt manufacturer, even if that means allowing ample time for gas exchange to let the water stabilize.
Once your saltwater is stable and circulating, you can add your biological filtration. We’re going to start cycling the tank next, which means high nutrients like ammonia, nitrite, and nitrate – it’s good to wait to add nitrate or phosphate reducers until after you’re cycled, so that you’re sure your biological filtration is up to par.
Chemical filtration will steal food from your beneficial bacteria, and get used up before you’re actually dealing with your inhabitants’ bioload.
Cycle your tank
Take a look at our previous cycling article so you know how to prepare your tank for its new inhabitants! During this period, we recommend leaving out chemical filtration, and leaving lights off as much as possible. This makes for less competition against your beneficial bacteria, and a stronger biological filter for when your tank is stocked and full of vibrant inhabitants!
Enjoy!
Now that your tank is cycled and running, it’s ready for livestock! This is a good time to get into the habit of regular testing for temperature, salinity, and important cycling parameters like ammonia, nitrite, and nitrate.
When you see nutrients creep up, that chemical filtration will come in handy. Remember to add livestock slowly so that your biological filtration will keep up – if you see ammonia creeping up, you’ve gone too far.
Enjoy your amazing new underwater world!


