How to deep clean an aquarium
Weekly maintenance is nothing new for aquarists. Once in a while, though, you might want to do a bit more than just your basic water change: a deeper clean to make sure everything will keep running smoothly for years to come.
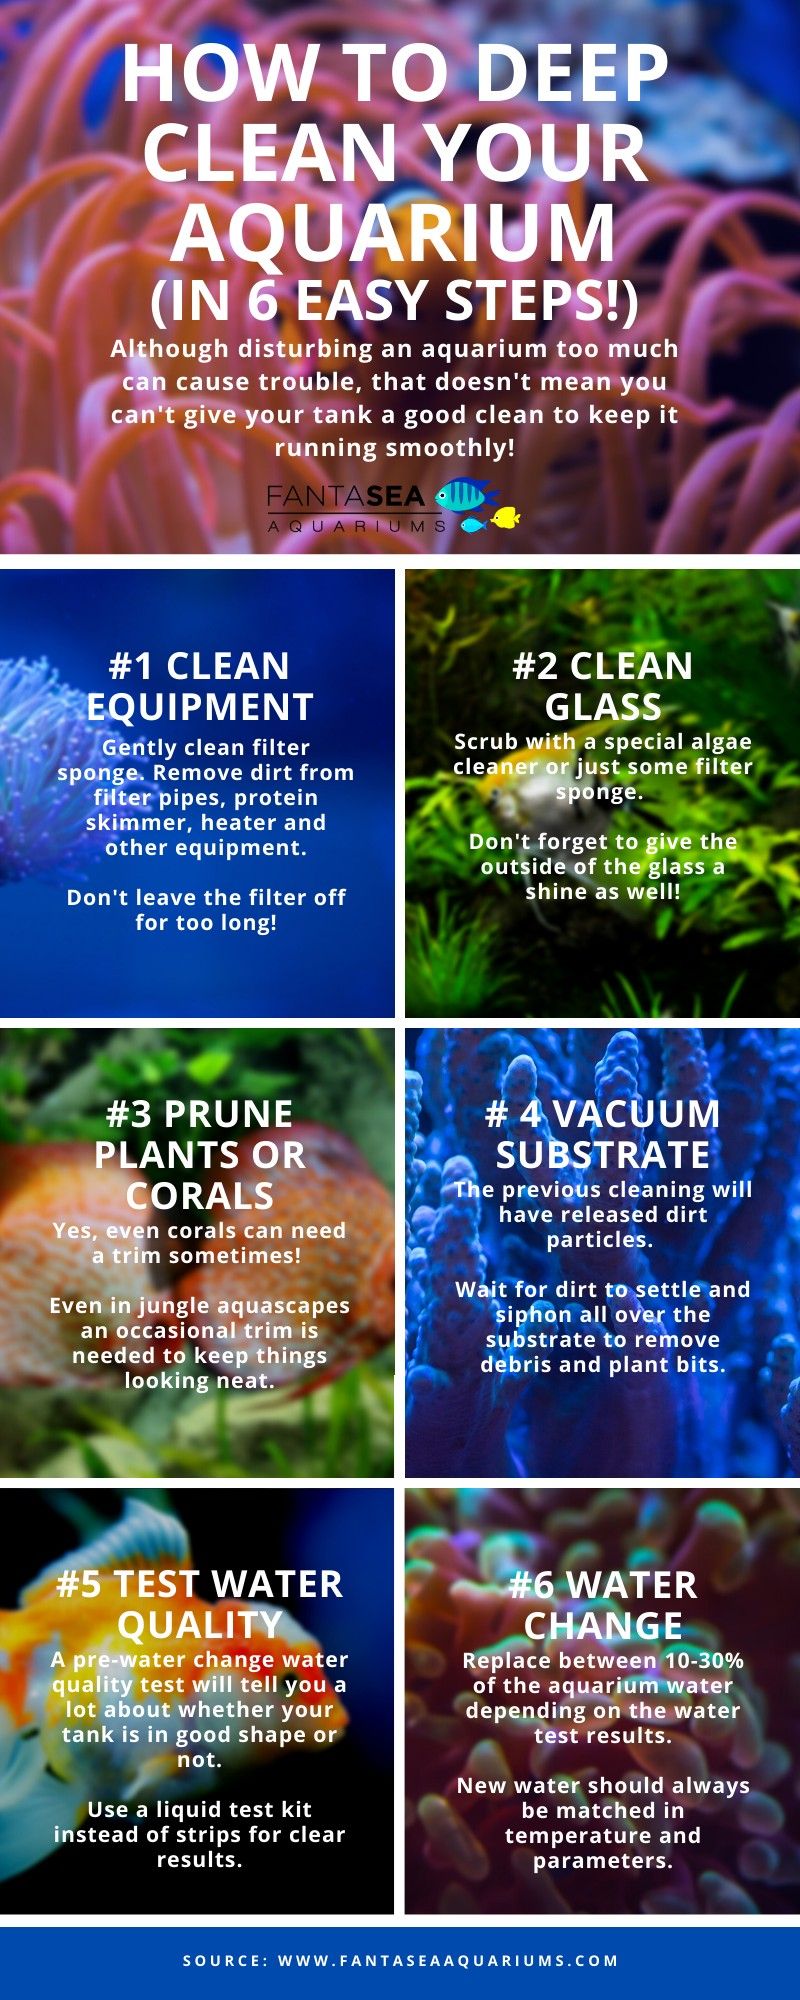
What does an aquarium deep clean entail? The 6 steps below will help you clean your fish tank without causing problems by disturbing things too much.
1. Equipment cleaning
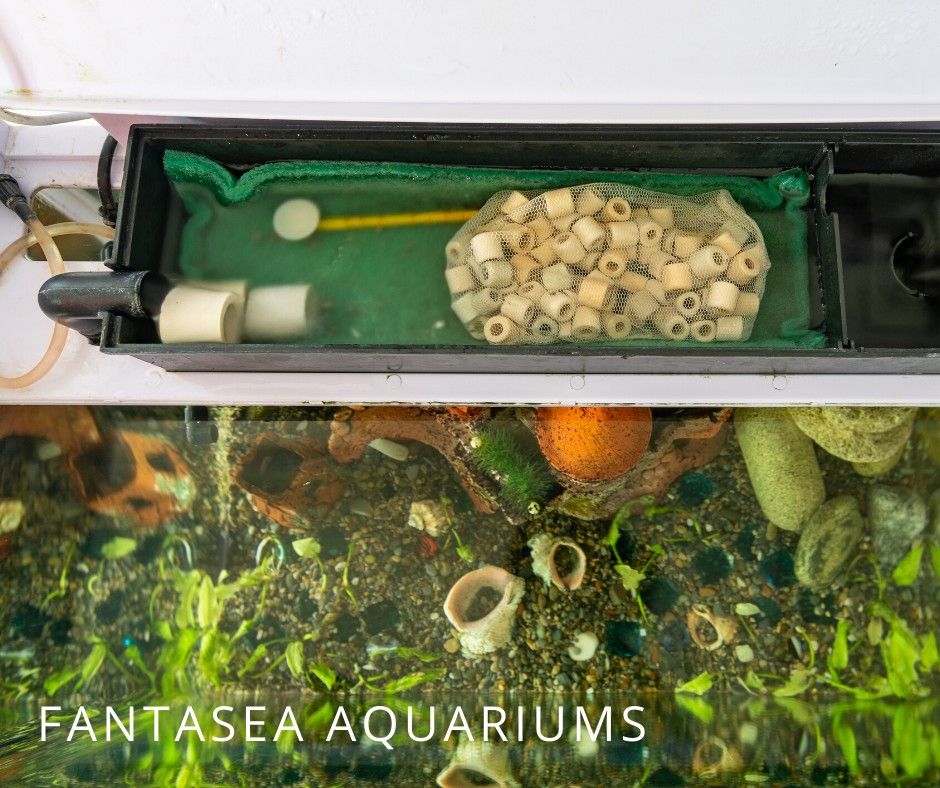
Let’s dive into this deep cleaning session! We’re going to start out by cleaning the filter. As you’re hopefully aware, our aquarium filters contain the good bacteria that keep the tank from turning into a toxic cesspool. As such, it’s important to handle the precious filter material with care.
- Turn off the filter and take out the sponges. You can leave any biological filter material (ceramic balls, lava rock, etc.) since that doesn’t require cleaning.
- Get a bucket of aquarium water and gently squeeze and swish the sponge until dirt stops coming out.
- Scrub the filter casing and pipes to remove algae and other muck.
- Place the materials back in the filter and the filter back in the aquarium.
- Don’t turn the filter back on just yet. We’ll be cleaning other things and don’t want the debris coming off to go straight into the sponge we just cleaned.
After you’re done with the filter, give other equipment like protein skimmers, heaters and air stones a scrub. Be sure to also take a good look at everything to make sure it’s still in working order, especially the heater.
2. Glass cleaning
After cleaning all equipment, it’s time to do the same with the glass. You can use a special algae scraper for aquariums to easily remove gunk from the viewing panels, although a piece of unused filter sponge often works just as well.
Be careful not to get any substrate under the sponge, as scraping it across the glass can cause unsightly damage.
Tip: After you’re done with everything else on this list, give the outside of the tank a good polish as well. Dried water droplets are not very noticeable but your aquarium will still look much cleaner if you wipe them off.
3. Prune plants or corals
Aquascape enthusiasts and those with fast growing plants or corals know the drill: maintenance time means pruning time as well. Get your pruning scissors out and cut back any branches, leaves, stems and polyps that are getting out of hand.
Yes, even corals can sometimes use a pruning, especially if the aquarium environment is favorable for quick growth. Usually, you’ll be able to frag or propagate any bits you snip off, if desired.
Don’t be afraid to trim aggressively. The aquarium will look a bit barren at first but will likely grow back better.
4. Vacuum substrate
During all the aforementioned activities you’ll have stirred up plenty of debris, which will have settled on the substrate along with other bits of fish waste and biomaterial. To remove this and avoid it from fouling the water we’ll have to whip out the aquatic vacuum and siphon the substrate.
While siphoning you can stir up the top layer of the substrate a bit, especially if you use gravel, which isn’t as easy to clean. Don’t go over the top, though, and don’t take the substrate out to wash it unless you have very good reason. Substrate, too, contains good bacteria that stabilize the aquarium and destroying that population can really mess with your aquarium’s water parameters for days or weeks to come.
5. Test water
Performing a water test before rather than after doing a water change is important to be able to know the status of your aquarium’s health as well as determine how large the upcoming water change should be.
Use a liquid test kit, since strips can give wildly inaccurate readings. As you’re likely aware, you should get no ammonia/ammonium or nitrite readings. Nitrates should ideally not be much higher than 10 mg/l.
6. Water change
Time for the final step: the ever-important water change. If your test results in the previous step were favorable you can opt for a small water change, 10 or 20% of the tank’s total water volume. If nitrates were too high, go for 30 or 40% instead.
As with everything when it comes to fishkeeping you’ll have to be careful and slow while performing the water change. New water should be temperature matched to the existing water and have the same consistency and salinity.
Ideally you would introduce new water slowly, through a thin siphon, to avoid shocking the fish.
Conclusion
Keeping up to date with aquarium maintenance and occasionally performing a deep clean like we’ve discussed above is important to keep your fish happy and healthy. If you don’t want to take care of scrubbing yourself, FantaSEA’s aquarium maintenance services might be for you!